

Hey there! As a floor leather supplier, I've seen firsthand how a large - area floor leather installation can transform a space. Whether it's a commercial venue or a big - sized home area, getting that floor leather down right is crucial. In this blog, I'll walk you through the process of installing floor leather in a large area.
Step 1: Preparation
Before you even start unrolling that floor leather, you've got to get everything ready. First off, measure the area where you'll be installing the floor leather. You don't want to end up with too much or too little. Use a good quality measuring tape and double - check your measurements. It's better to be safe than sorry!
Next, clean the floor surface. Any dirt, dust, or debris can mess up the installation. Sweep the floor thoroughly, and then use a damp mop to clean it. Make sure it's completely dry before moving on. A clean surface ensures better adhesion and a smoother finish.
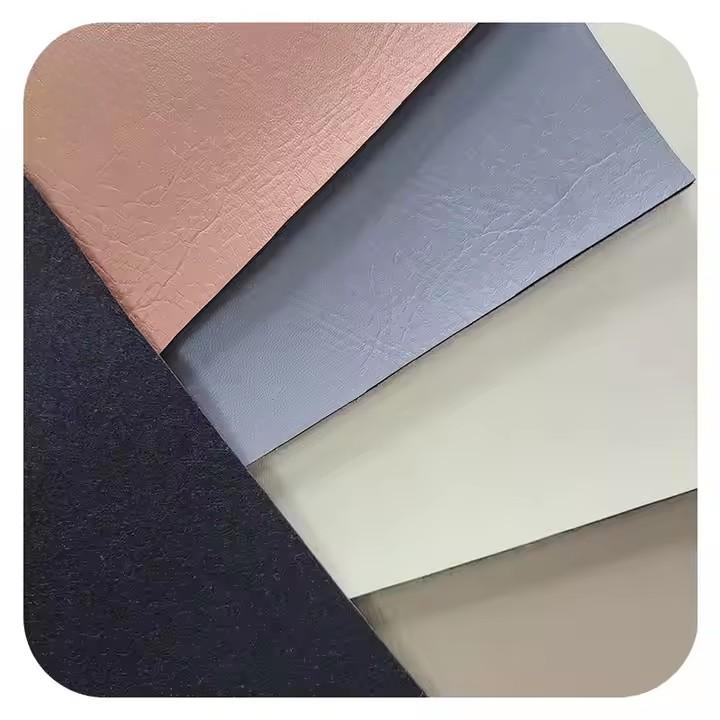

You'll also need to gather your tools. You'll need a utility knife for cutting the floor leather, a straight edge to guide your cuts, a roller to smooth out the leather after installation, and some adhesive. Make sure you choose an adhesive that's suitable for the type of floor leather you're using.
Step 2: Layout and Cutting
Once your floor is clean and dry, it's time to unroll the floor leather. Start at one corner of the room and slowly unroll it across the floor. Try to keep it as straight as possible. If there are any wrinkles, smooth them out gently.
Now, it's time for some cutting. Use your straight edge and utility knife to cut the floor leather to fit the area. Start by cutting along the walls, leaving a little extra at the edges. You can trim it more precisely later. If you're covering a large area, you might need to join multiple pieces of floor leather. Make sure the seams are tight and aligned properly. You can use a special seam - joining tape or adhesive for this.
Step 3: Adhesive Application
Applying the adhesive is a critical step. Start in one small section of the floor. Use a trowel or a notched spreader to apply the adhesive evenly. Don't spread too much at once, as the adhesive can dry quickly.
Once the adhesive is down, carefully place the floor leather onto the adhesive. Start at one end and slowly lower it onto the floor, smoothing out any air bubbles as you go. Use a roller to press the leather firmly onto the floor, ensuring good adhesion.
If you're installing multiple pieces of floor leather, make sure to apply the adhesive to the areas where the seams will be. This helps to create a strong bond between the pieces.
Step 4: Seaming and Finishing
After the floor leather is down, it's time to deal with the seams. If you used a seam - joining tape, make sure it's well - bonded to the leather. Use a roller to press the seam firmly. For a more professional look, you can use a heat sealer to melt the edges of the leather together. But be careful when using a heat sealer, as too much heat can damage the leather.
Trim the excess floor leather along the walls. Use your utility knife and a straight edge to get a clean, precise cut. Make sure the edges are flush with the walls.
Finally, use a roller to go over the entire floor one more time. This helps to ensure that the floor leather is firmly attached and that there are no remaining air bubbles.
Step 5: Maintenance
Once the floor leather is installed, it's important to take good care of it. Avoid using harsh chemicals or abrasive cleaners, as they can damage the leather. Instead, use a mild detergent and a soft cloth or mop to clean the floor.
If there are any spills, clean them up immediately to prevent staining. You can also use a protective coating on the floor leather to make it more resistant to scratches and wear.
Now, let me tell you a bit about the products we offer. We have a wide range of floor leather options, including Leather Floor Sofa, Leather Car Floor Mats, and Leather Floor Mats for Car. Our floor leather is high - quality, durable, and easy to install, making it perfect for large - area installations.
If you're interested in our floor leather products or have any questions about the installation process, don't hesitate to reach out. We're here to help you with your floor leather needs. Whether you're a DIY enthusiast or a professional installer, we've got the right products for you.
References
- "Floor Covering Installation Handbook"
- Manufacturer's instructions for floor leather and adhesive products.